
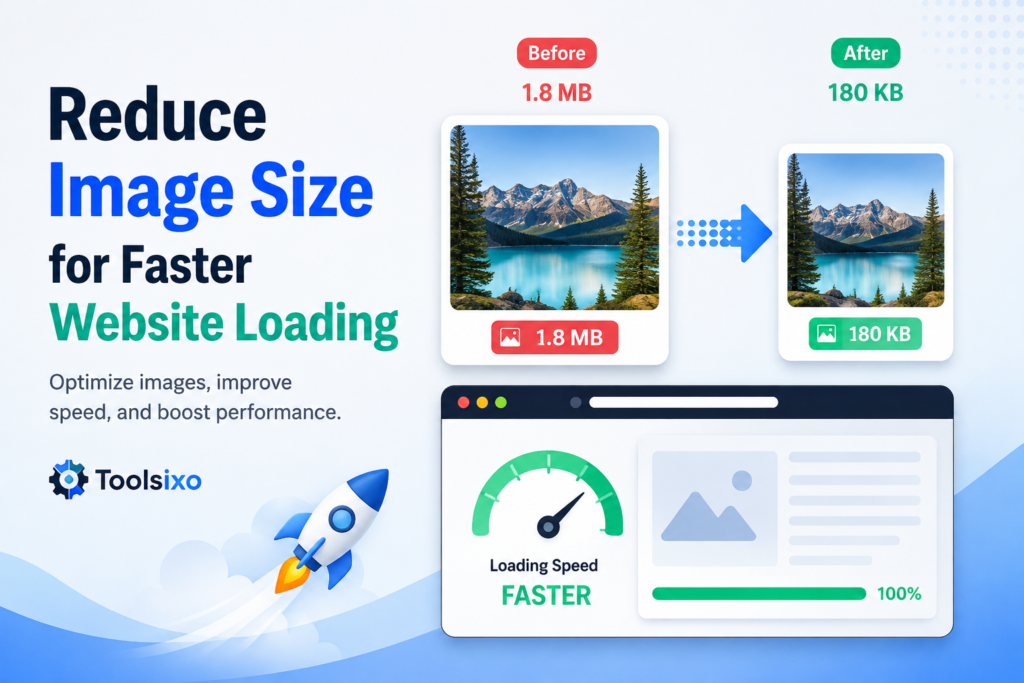
A website can look polished and still feel painfully slow. In many cases, large image files are part of the problem.
High-resolution photos, banners, screenshots, and product images can add significant weight to a page. Visitors must download that data before viewing your content, which can be especially frustrating on mobile devices or slower connections.
The good news is that you don’t need to remove your images. By compressing and resizing them correctly, you can reduce image size while keeping them clear and useful.
Why Image Size Affects Website Speed
Every image has a file size, usually measured in kilobytes or megabytes. When someone opens your page, their browser downloads those files.
The larger the files, the more data the browser must process. A page containing several unoptimized images may therefore take noticeably longer to appear.
Smaller images can help you:
– Improve loading speed
– Reduce bandwidth usage
– Save server storage
– Make mobile browsing smoother
– Upload content faster
– Improve the overall user experience
Image optimization is also part of technical SEO. Google recommends using supported image formats, responsive images, descriptive filenames, and helpful alt text.
How to Reduce Image Size Online
You can compress an image without installing complicated editing software.
Use the free Toolsixo Image Compressor and follow these steps:
Upload your image.
Select Compress Image.
Wait for the image to be optimized.
Download the compressed version.
Replace the original file on your website.
The tool supports JPG, PNG, and WebP files. It works on mobile and desktop, requires no signup, and adds no watermark. Images are processed directly in your browser rather than being permanently stored on the server.
Before replacing an existing image, keep a backup of the original file.
Compression and Resizing Are Different
These two optimization methods are often confused.
Image compression reduces the amount of data stored in a file. Its purpose is to produce a smaller file while keeping the image visually clear.
Image resizing changes the image’s dimensions, such as reducing a 4000-pixel-wide photo to 1200 pixels.
For the best results, use both methods:
Resize the image to match its intended display dimensions.
Compress the resized file.
Preview it to confirm that text and important details remain clear.
There is little benefit in uploading a very large image when your website only displays a much smaller version.
Choose the Right Image Format
The appropriate format depends on the type of image.
JPG or JPEG
JPG works well for photographs and other images containing many colors. It can produce relatively small files, although excessive compression may introduce visible distortion.
PNG
PNG is useful when transparency or sharp interface details are required. It may create larger files than JPG or WebP, particularly for photographs.
WebP
WebP is a modern format suitable for many website images. It supports transparency and can often provide efficient file sizes.
After choosing a format, run the file through the online image compressor before uploading it.
Practical Ways to Optimize Website Images
1. Use descriptive filenames
Rename an image before uploading it.
Instead of:
IMG_4827.jpg
Use:
reduce-image-size-website-loading.jpg
A descriptive filename helps people managing the website understand the file. It can also give search engines useful information about the image.
2. Write accurate alt text
Alt text briefly explains an image’s purpose or content. It supports accessibility and helps search engines understand the visual.
For example:
Screenshot of an online tool compressing a JPG image
Avoid forcing keywords into every description. Alt text should accurately describe what a person would learn from the image.
3. Use responsive images
A large desktop image may be unnecessary on a small mobile screen. Responsive image techniques allow browsers to choose a suitable version for the visitor’s device.
The MDN guide to responsive images explains how srcset and sizes work.
4. Lazy-load off-screen images
Lazy loading delays images that are not immediately visible. Instead of downloading every image at once, the browser loads certain images as the visitor moves down the page.
Avoid lazy-loading a critical image at the top of the page without checking its effect on performance.
5. Set image dimensions
Adding width and height information helps the browser reserve space before an image loads. This can reduce unexpected page movement.
6. Compress every image before publishing
Optimization is easier when it becomes part of your publishing routine. Compress featured images, screenshots, article graphics, and product photos before uploading them.
How to Check Whether Optimization Worked
Compare the original and compressed files before replacing anything.
Check:
– The file size before and after compression
– Whether fine details remain readable
– Whether transparent areas still display correctly
– How the image looks on mobile and desktop
– Whether the page loads more smoothly
You can also use PageSpeed Insights to analyze a public page and identify performance issues.
Compression can improve image delivery, but it may not solve every speed problem. Hosting, scripts, fonts, caching, and other resources can also affect loading performance.
Common Image Optimization Mistakes
Uploading the original camera file
Camera and stock-photo files are often much larger than their displayed size. Resize and compress them first.
Compressing an image too aggressively
A tiny file is not useful if the image looks blurry or contains distracting artifacts. Aim for a sensible balance between size and clarity.
Using the same dimensions everywhere
A small thumbnail and a full-width banner do not need identical image dimensions.
Ignoring mobile visitors
Always preview important images on smaller screens. Text embedded inside an image may become difficult to read.
Forgetting existing content
Older pages may contain some of your largest files. Reviewing and replacing oversized images can improve more than just newly published content.
A Simple Pre-Publishing Checklist
Before uploading an image, confirm that:
– Its dimensions suit its placement
– The file uses an appropriate format
– It has been compressed
– Its filename is descriptive
– Its alt text is accurate
– It remains clear on mobile and desktop
– The page still looks correct after publication
Final Thoughts
Reducing image size is one of the most practical ways to make a website lighter. Start with prominent banners and large images, then optimize the rest of your media library over time.
You can use the Toolsixo Image Compressor to compress JPG, PNG, and WebP files online without signing up or installing software.
Frequently Asked Questions
Does reducing image size lower its quality?
It can, depending on the method and compression level. A balanced approach reduces file size while keeping the image visually clear.